Part 1. How to optimise website images
This article is aimed at helping designers and website owners (with a bit of design capability) to manually optimise their website images for better performance, without loss of quality.
We'll be using Adobe Photoshop, but other photo editing software is available and many free online tools will provide similar features.
The file type options for web images
There are various file types suitable for images on the web, as a very loose and general rule .gif (or more common today .png) for graphical, vector content and .jpg for photographic content.
Yes there are other file formats, some more widely supported and ‘safe to use’ than others but for now we’re ignoring all other file formats and for this article we’re just going to concentrate on and focus on manually optimizing photographs for maximum quality but smallest file size, and ultimately quickest loading speed.
I always take an image on its own merits and use the file type that offers the best compromise of quality and legibility against file size. In reality this often ends up being a .png but I’ll save that for a future guide.
JPEG encoding
In the following text, without getting too involved in the technology (sorry I will have to get a little involved) I’m going to try and explain how to make your web site images better optimised.
Jpeg (or .jpg) compression can create very small files, compared to the original raw images straight from your camera. However there is a cost to small files and that is at the expense of quality. But follow these tricks and you can have great looking and quick loading photos.
A breif history
First of all let’s have a little history lesson, sorry again, but it’s helpful to understand how we got here.
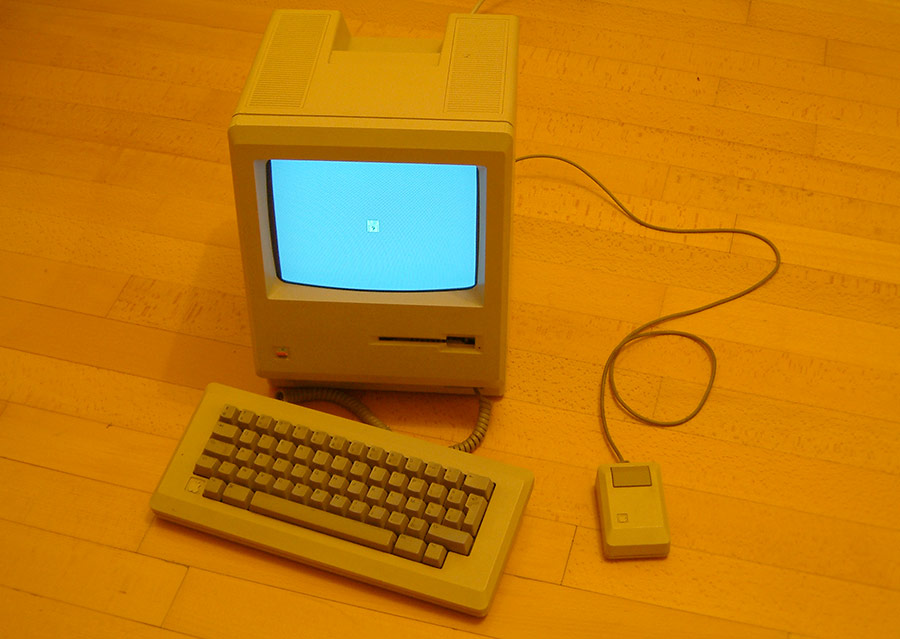
Back in the late 90’s when I started working in website design when, when Apple Computers were still beige like every other computer, and a 26kbs modem was all that was on offer for the select few that even had internet access. The thought of providing a rich content website with large images was just ridiculous. So this is when the majority of the following black art was learned.
By the mid 2000’s ‘Broadband’ was the buzz word and with it came ‘Web 2.0’ and people started to expect more designed content, large, higher quality images, even video and streaming content.
As equipment got more affordable the old standard 17” monitor turned into 23” and above, with it common screen resolutions got higher, Apple launched Retina Displays and generally everyone started demanding super high-res content. Broadband evolved into ‘Superfast’ Broadband and Optical Fibre connections were rolled out into more places. Bearing in mind a Graphic Design graduate of today would have only just been born in the late 90’s it is fair to say they’ve completely missed the need to create lightweight web content. These tricks were never taught, they simply weren’t needed.
Now let’s come right up to date. Even though smart phones have been around for a while now, it’s only really in the last few years that mobile devices are being delivered the same web content, prior to this a slimmed down mobile only version of a website would be delivered.
Ok 3G is fast becoming 4G, and internet speeds are getting faster all the time, but the demand for content is also getting much, much more. Not that long ago your average household had one maybe two computers, your TV came over through an roof aerial or dish and if you wanted to watch a film you stuck in a DVD.
Now look at your average family, your TV, phones, computers, games console all using your bandwidth, even your heating system and your fridge freezer want to connect to your Wi-Fi these days. So although speed is getting faster, the state of the internet in an average household today is probably slower for a single device at any one time than it was say three years ago. We’re virtually back in the 90s!
Back to basics
So until we have limitless internet everywhere we need to get back to basics to deliver quality graphics over the internet at reasonable speed.
Having a little bit of understanding of how the jpeg compression works can help you manipulate your images create graphics that will compress better and create smaller file sizes, while you still stay in control of the quality.
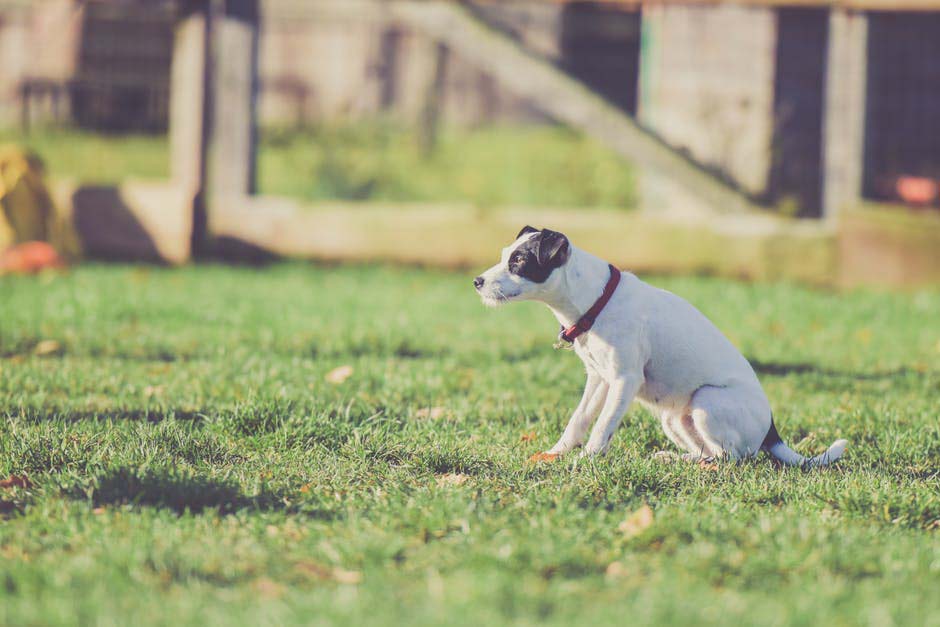
For this example we’re going to work with this image of grass.
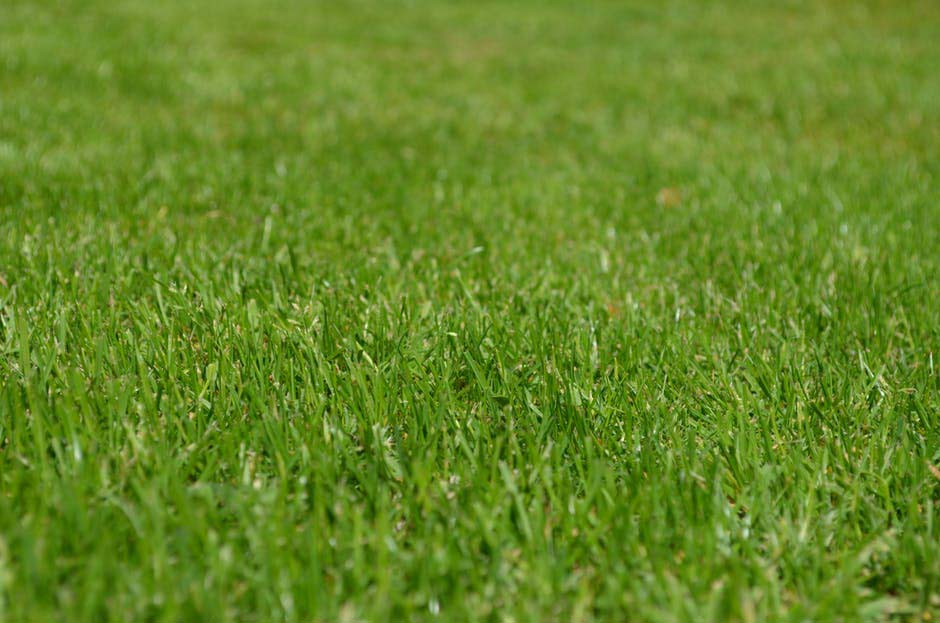
You might think it’s a pretty dull image but there’s actually a lot going on. There’s a fading background, soft focus foreground and a lot of detail in the mid ground.
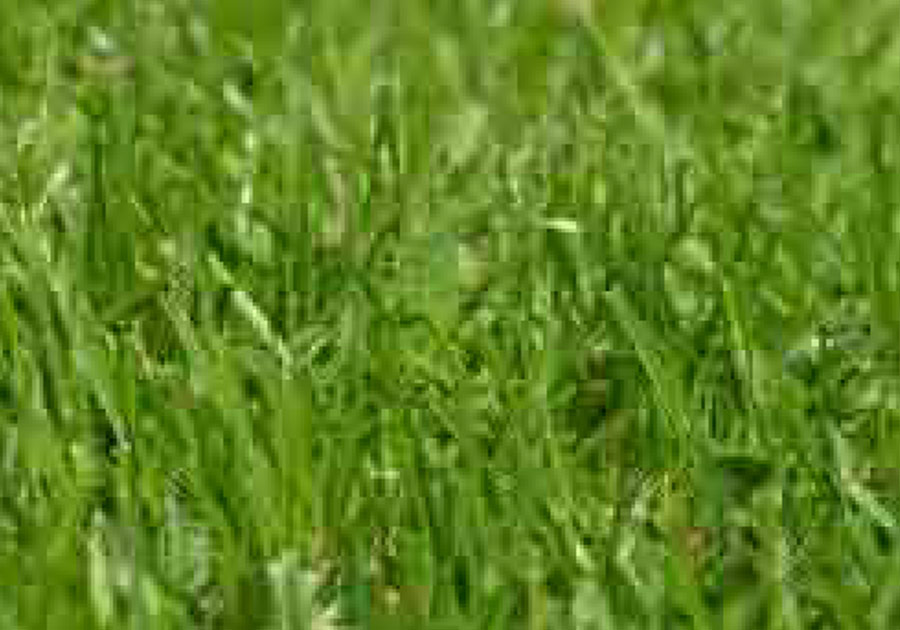
If I take this image straight into Photoshop (any chosen image editing software should have similar features) I can save with some basic web setting and reduce the quality right down.
This will create a smaller file but as you can see the image is blocky.
So now let’s look at where these blocks are coming from.
If you zoom right in you can see the individual pixels that make up this image.
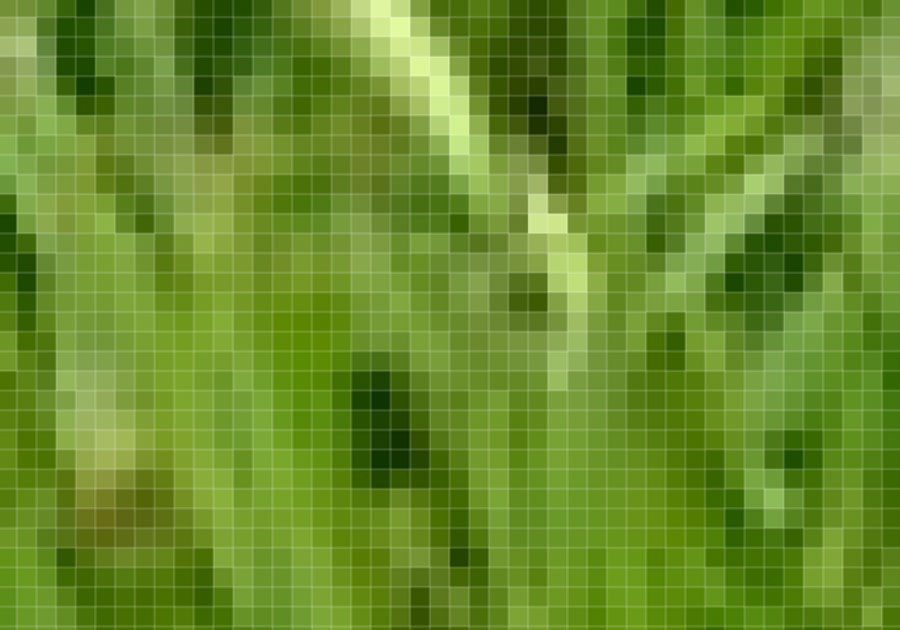
Each colour change needs to be calculated, and the stronger the colour change the bigger the calculation is. If the colour change is strong the compression process assumes this is detail. And maintains the information, creating a larger overall file.
If the colour change is less dramatic, the compression process can decide that the change between pixels is less relevant, and to help improve compression it will even out the colour changes, and basically remove the colour changes. So across a block a 8x8 pixels you could end up with 64 strong individual coloured pixels, creating a larger file. Or if less important you could end up with a block of 64 pixels, equalised to one single colour. That is where the blockiness comes from.
So now comes the clever bit, and this is how you can control the compression.
Control
First of all think about the image and decide what bits are important - you're in control here!
We’ve already decided the foreground and background are out of focus and the important stuff is in the middle where the detail of the grass is very fine.
Option 1. We can use the marque tool, polygon lasso, or freehand lasso if preferred to select the area of non-important detail.
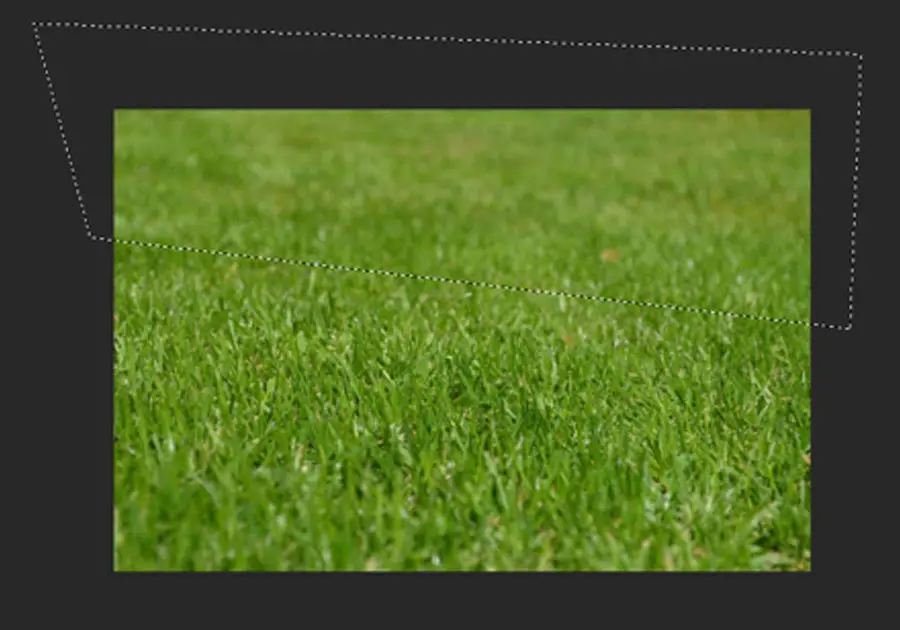
To ensure we don’t get a hard edge, use Select > Modify > Feather to soften the selection
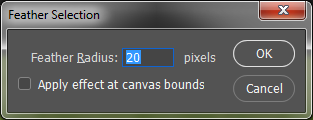
The amount to feather is by is going to be dependent on the size/scale of the image and the subject matter.
A quick and simple test to view the selected area is to simply hit delete!
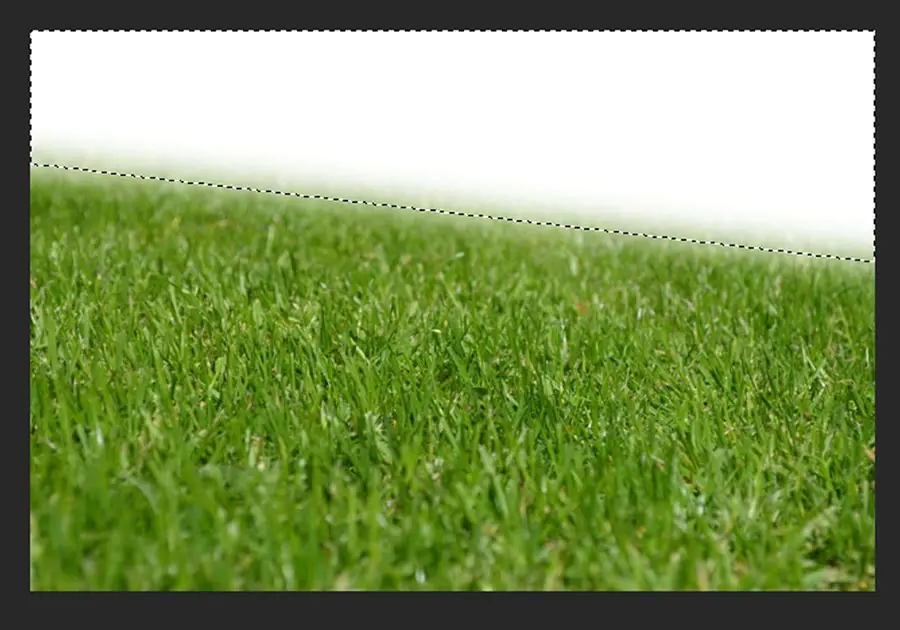
This will show the severity of the feather and highlight the selected area, and can easily be undone before proceeding. (The keyboard short cut is Ctrl + Z on a Widows PC or Cmd + Z on a Mac) Undo the delete before proceeding.
Option 2. Another way to select an area might be to use the magic wand to gain a similar but more specific selection.
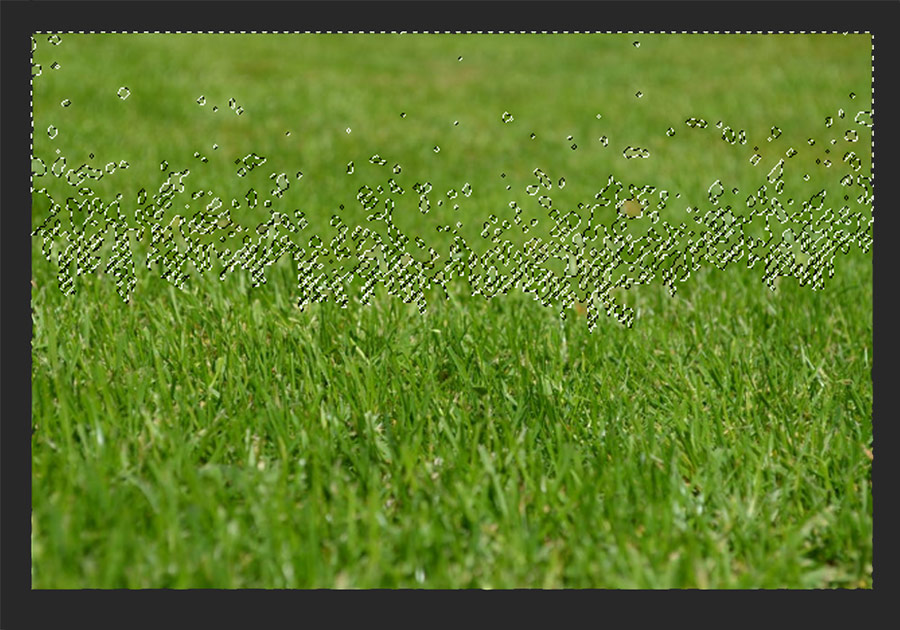
With the right tolerance settings you can get a similar selection. What you will notice is where pixel colours are stronger the magic wand will exclude them. This highlights the IMPORTANT pixels, within the unimportant area, and basically the pixels we’re perfectly happy to ignore.
To use the magic wand we also need to soften the selection.
The feather function works well in this instance but depending on the nature of the selection using the Select > Modify > Expand tool can help expand the selected pixels to merge the smaller areas.

Either way we now have an area where we can soften the pixels and remove unwanted intense changes of pixel strength. Note, the area selected in this example amounts to a good third of the total image. By optimising this area alone and maintaining the full detail in the rest of the image would have a significant impact on the size of a final jpeg.
Part 2. How to optimise website images – coming soon.
Where we'll carry on talking you through how to eliminate non vital information in images to enable much smaller file sizes for web site optimisation. And we'll be working towards optimising this image
Part 2 is now published, click here to read on.