Part 2. How to optimise website images – continued.
Carrying on from where we left off last time… for part 1 see here.
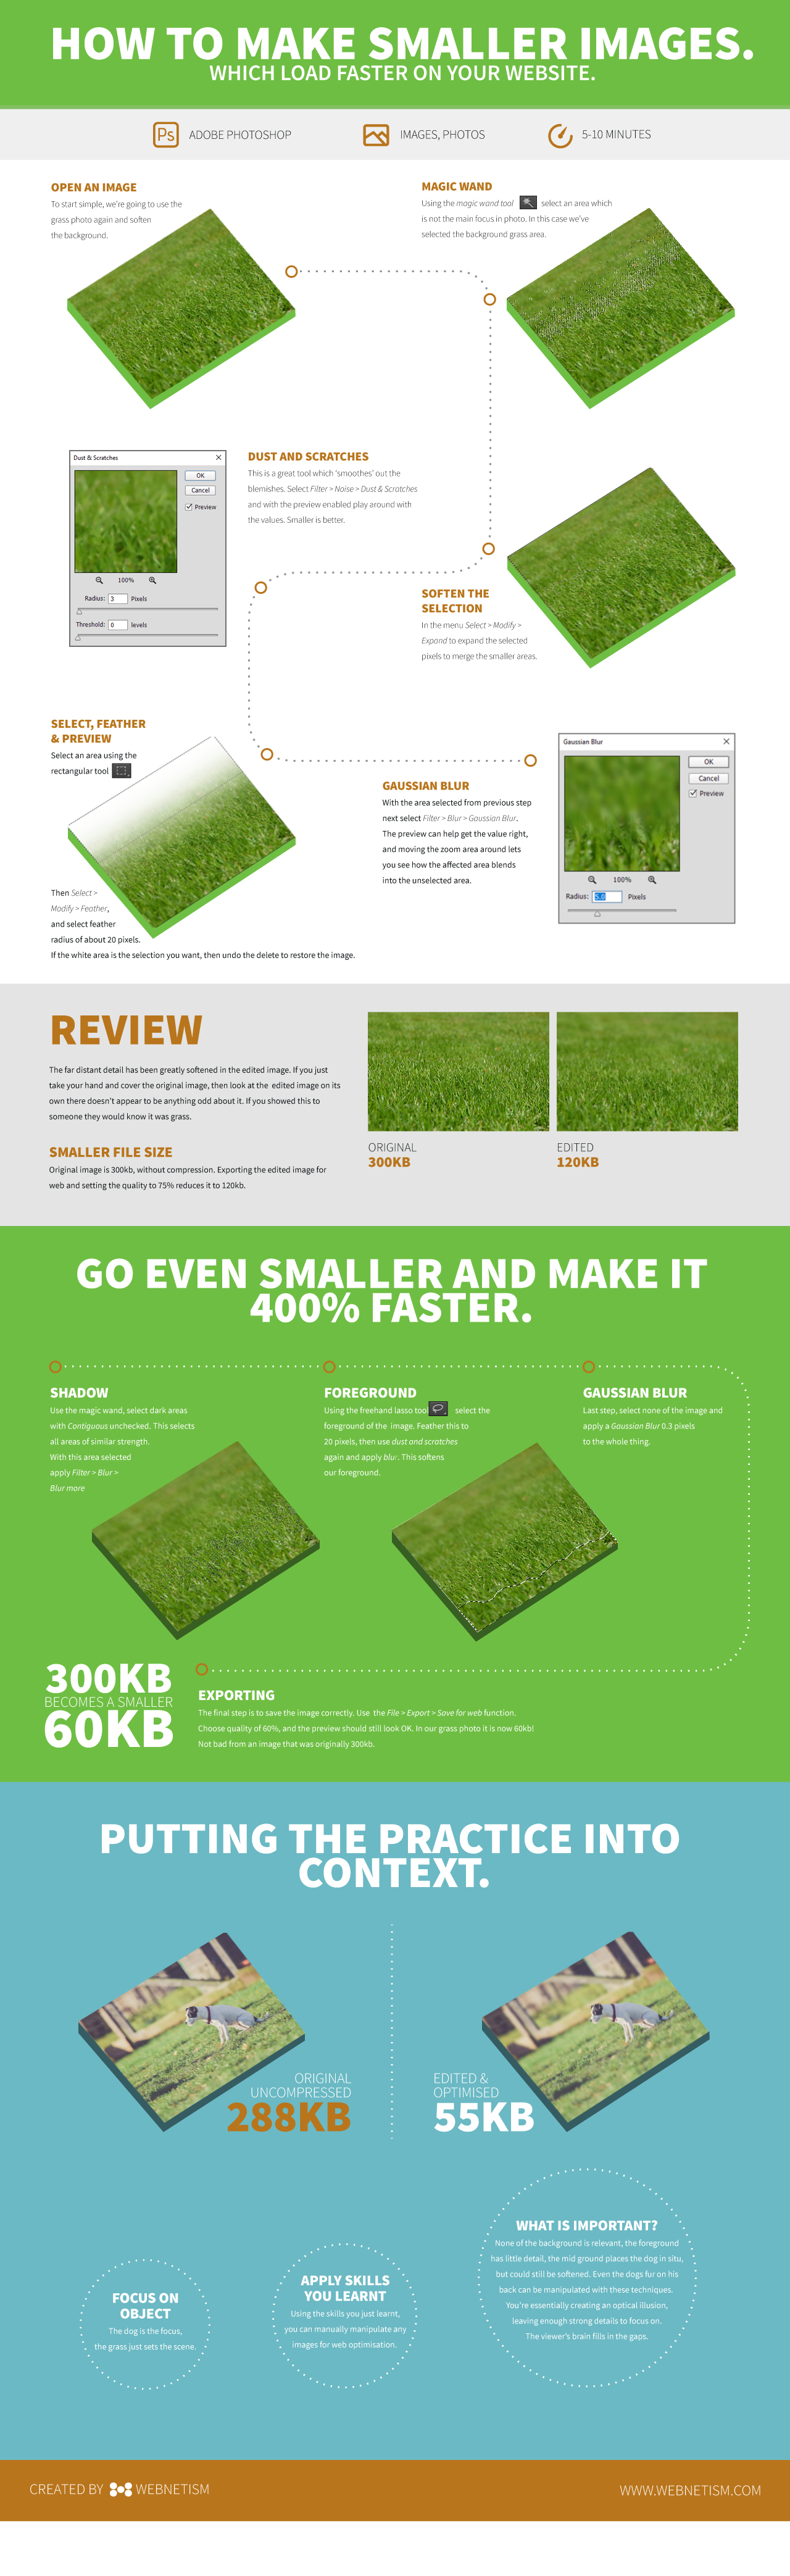
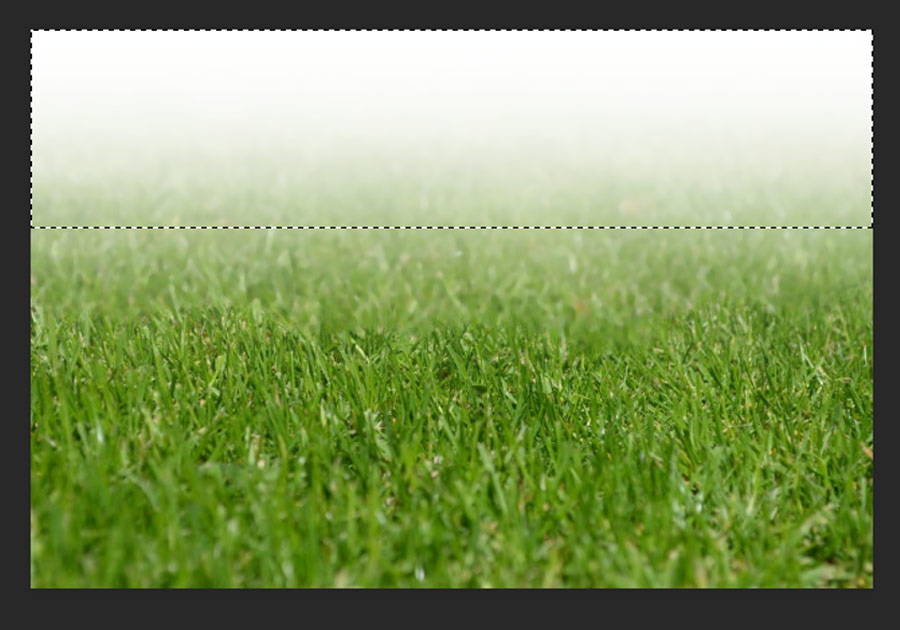
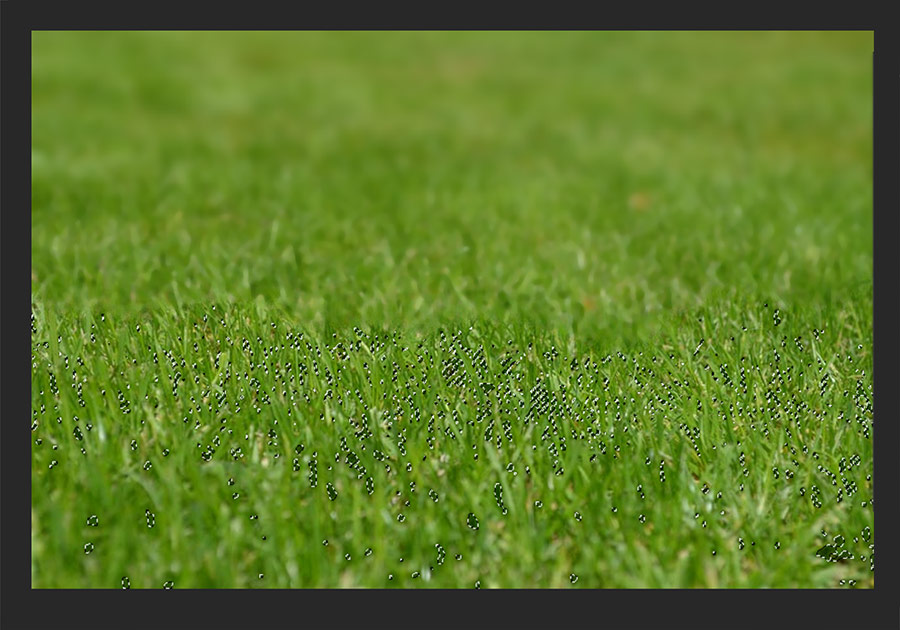
Dust and Scratches
This is a great tool, originally designed to ‘smooth’ out the blemishes from dust, scratches or imperfections from an old photograph. Remember PhotoShop came about as a photo retouching tool, not a graphic design package! These original tools are very powerful and vastly overlooked.
Select Filter > Noise > Dust & Scratches and with the preview enabled play around with the values.
The key is to keep them low, and if need be repeat rather than go for high numbers straight off. I normally only set the Radius to 1 and leave it at that, but in this extreme example 3 works OK.
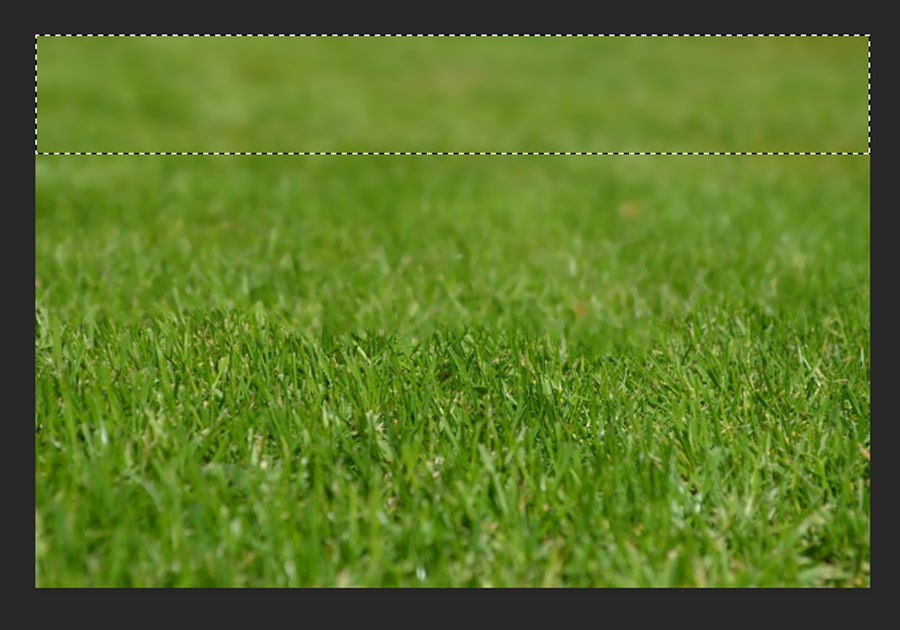
Now to further take advantage of the fade out of the background I can move my selected area and repeat the process.
Remembering my selection has a feather edge and this background info really isn’t required. The detail here, or the lack of it, will be ignored by the brain.
After repeating this as many times as required, moving the selection away from the focus whilst not making the image look unnatural we can move on to the next step.
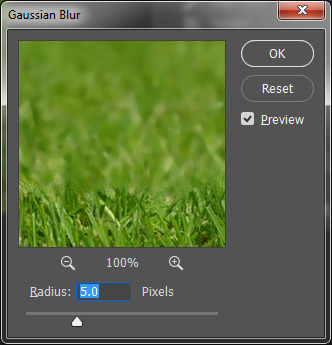
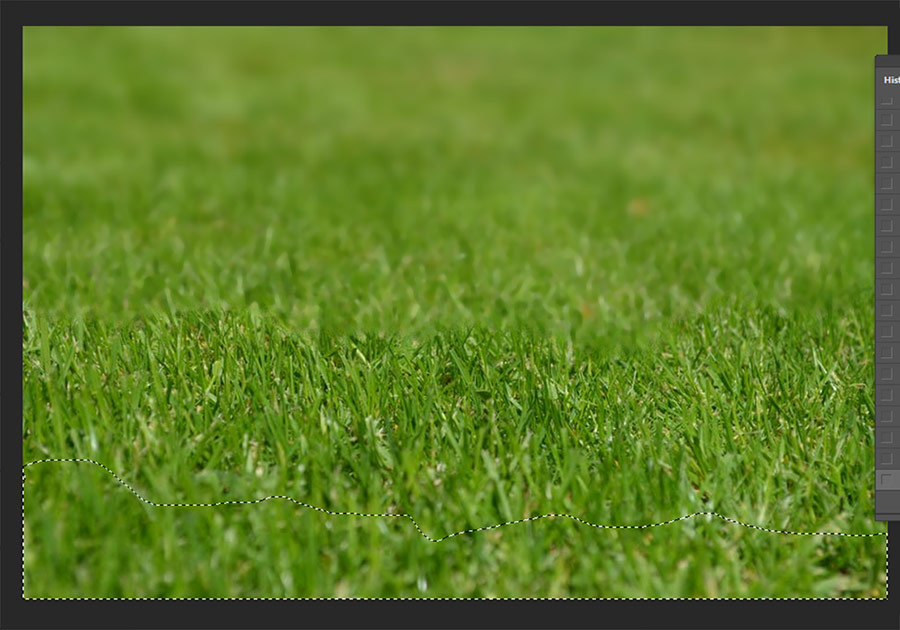
Blur
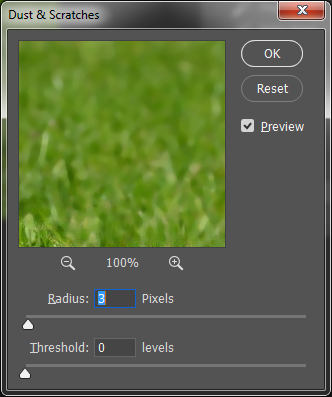
Select a similar area again. This time I’ve just used the rectangle marquee.
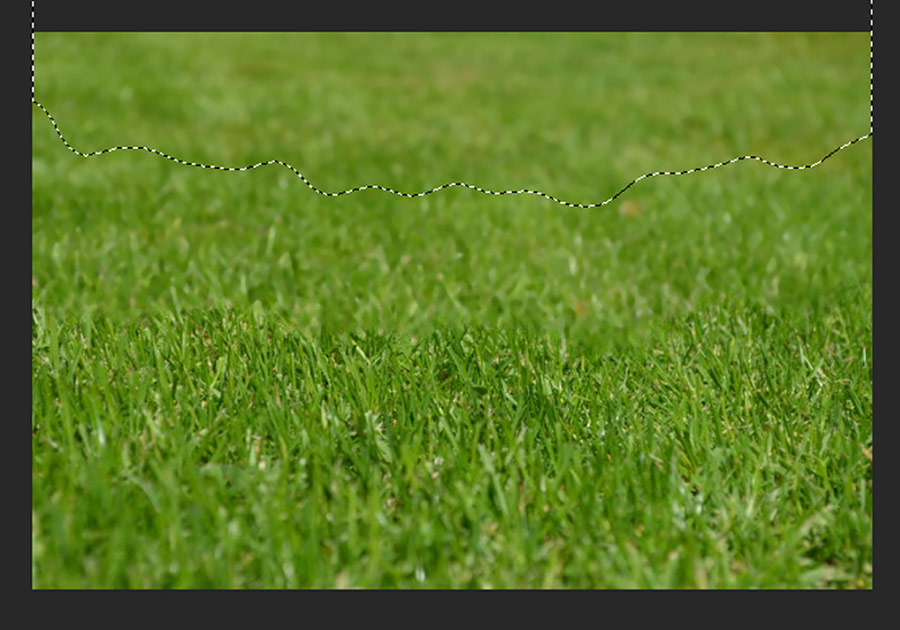
But I’ve increased the feather to fad the selection more subtly. As before a quick delete shows how my selection will fade out.
Undo the delete to restore the image and next select Filter > Blur > Gaussian Blur, feel free to experiment with the other Blur types but I find the Gaussian Blur perfect for this process.
The preview again can help get the value right, and moving the zoom area around lets you see how the affected area blends into the unselected area.
You can repeat this process again on a smaller area further out in the field of view to increase the appearance of depth and knock out addition unimportant pixels.
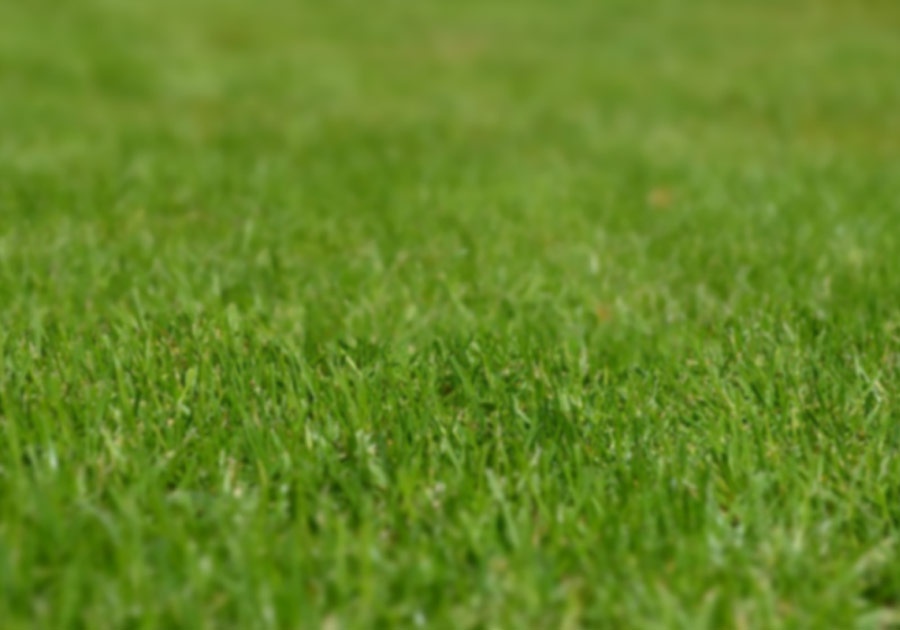
Review
If we compare our edited image on the left with the original on the right, we can see the far distant detail has been greatly softened.
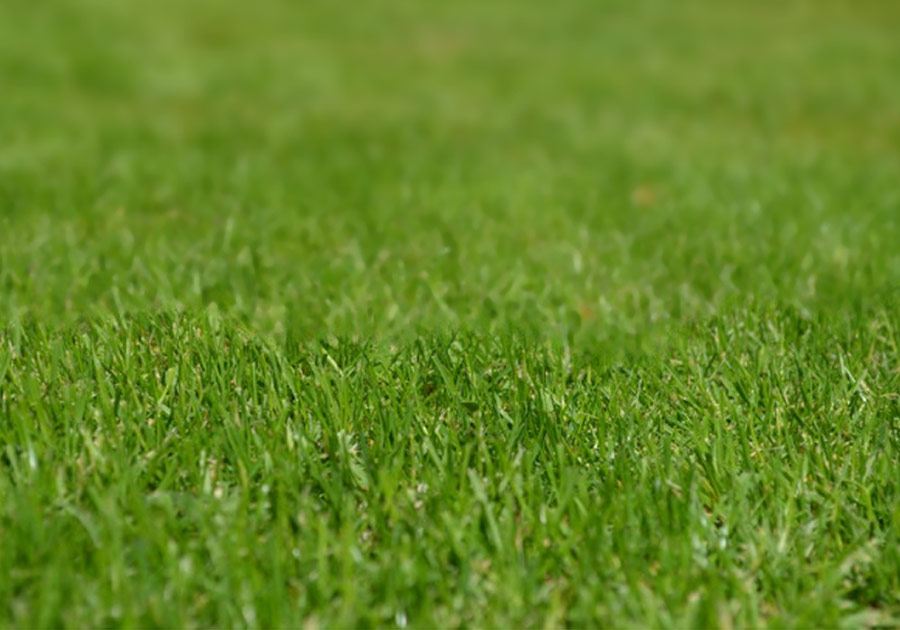
But if you just take your hand and cover the original image on the right and just look at the edited image on its own there doesn’t appear to be anything odd about it. If you showed this to someone they would know it was grass.
The original image would have saved at just over 300 kb, without compression. Exporting this for web and setting the quality to 75% gets this to around 120kb.
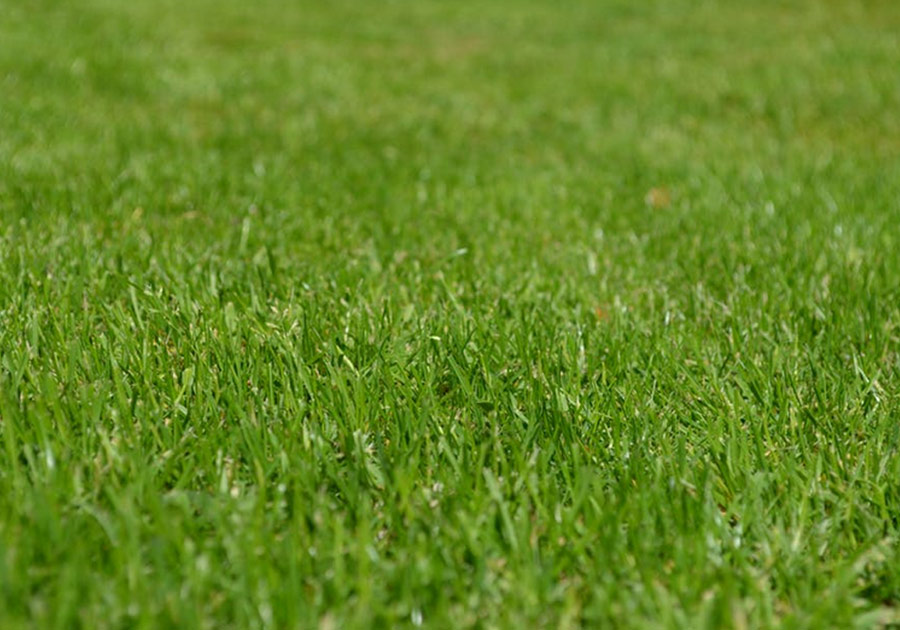
Shadow
Using the magic wand and selecting a dark area with Contiguous unchecked, selects all areas of a similar strength. These selected areas, without feathering this time, can also have some blur applied.
They are shadow, they give depth to the image but the shadow doesn’t’ need to contain detail to perform it’s task.
This time I’ve used the freehand lasso to select the foreground.
Feathering the edge, using dust and scratches again and more blur, softens the front edge as well.
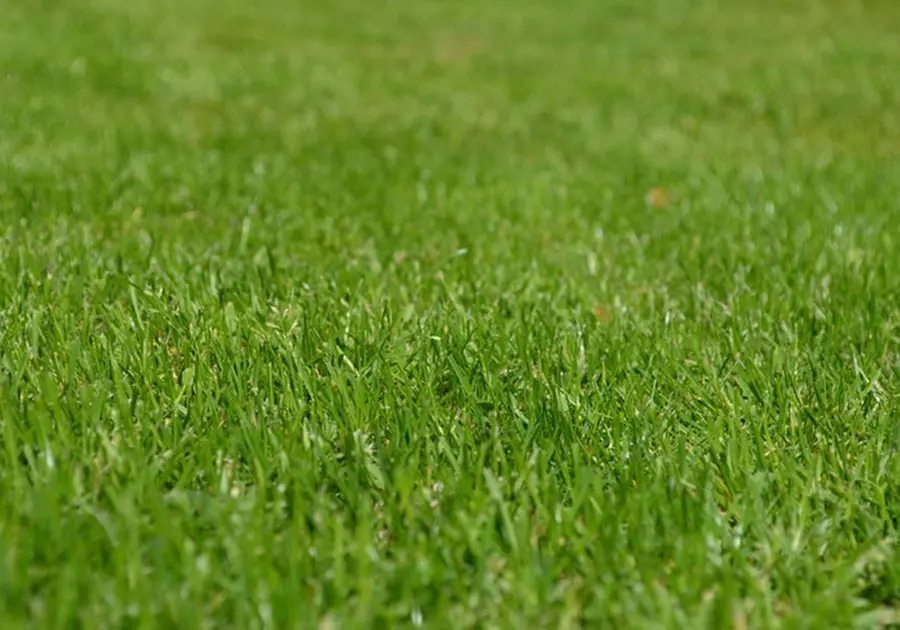
And finally, deciding due to the nature of this particular image I can afford to apply a final Gaussian Blur to the whole thing I end up with the image on the left compared to the original on the right:
Yes, you can see the difference but the top image still looks like grass and if the original wasn’t seen it would be perfectly adequate to display this image to a user.
Exporting
The final step is to save the image correctly. Yes you can save, or save as, but the Save for web function within Photoshop is very useful too.
Use the File > Export > Save for web function to give the greatest flexibly.
Dropping the quality to 60%, the preview shows me this is still OK, reduces the end file save to around 60kb. Bit bad form the original 300kb image.
Putting the practice into context
So you’ve learnt how to optimize grass. Great, but where to use it? Imagine for example if the grass wasn’t the main focus of the photo, but just an non-important part of another image.
The dog is the focus, the grass just set the scene.
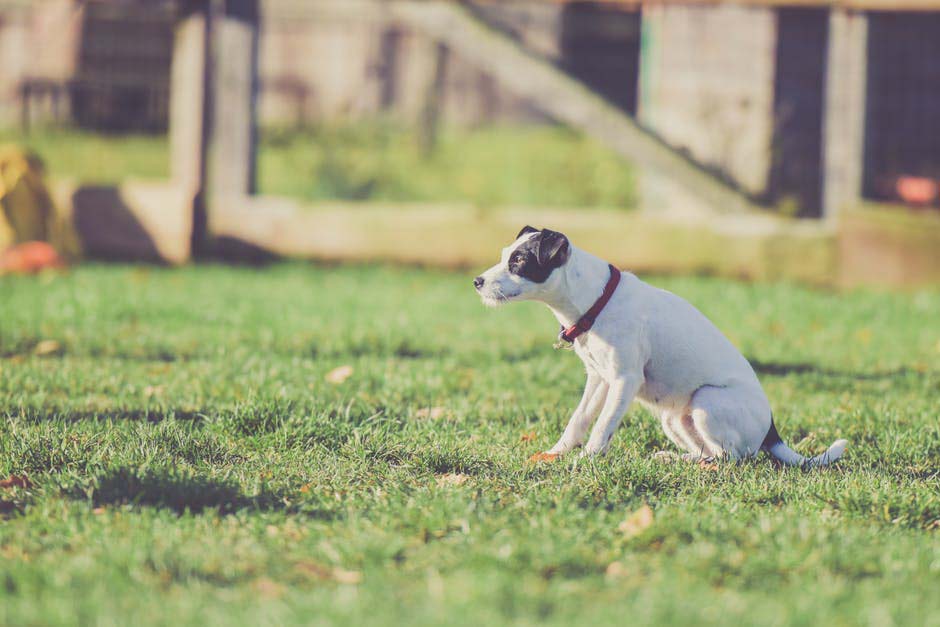
All of the skill highlighted above could be used to manual manipulate this image for web optimisation.
None of the background is relevant, the foreground has little detail, the mid ground places the dog in situ, but could still be softened. Even the dogs fur on his back can be manipulated with these techniques. You’re essentially creating an optical illusion, leaving enough strong details to focus on. The viewer’s brain fills in the gaps.
My final optimised image is 55kb.
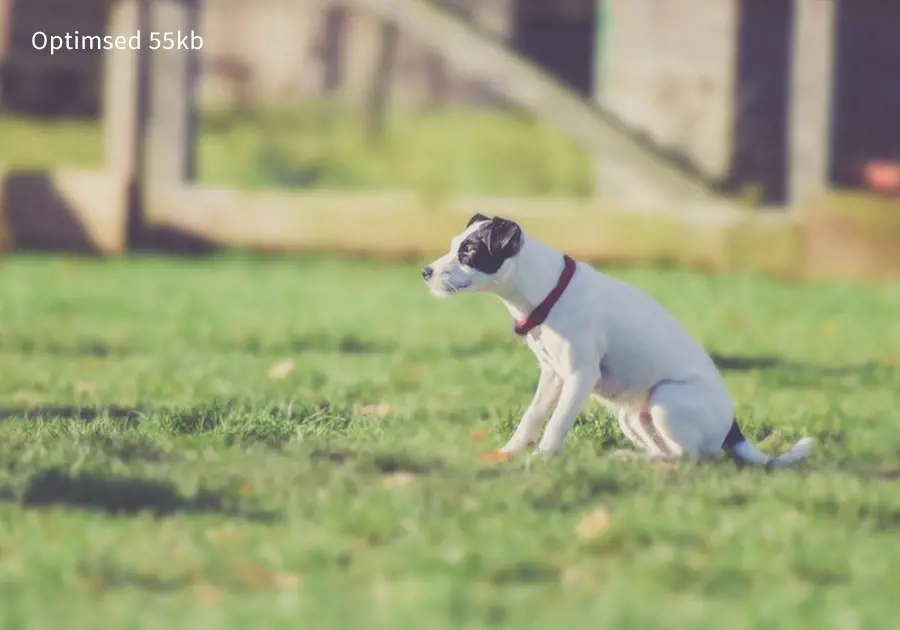
The uncompressed original jpeg of this image is 288kb.
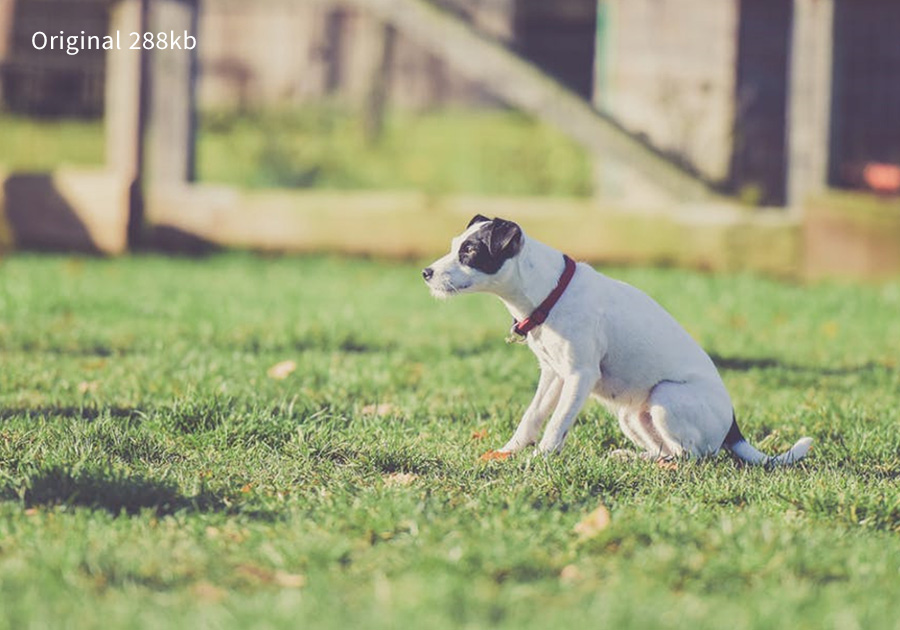
Would you really notice the difference if you weren't comparing them?
Thanks for reading, I hope you've found this helpful. Feel free to right click and save the following infographc: